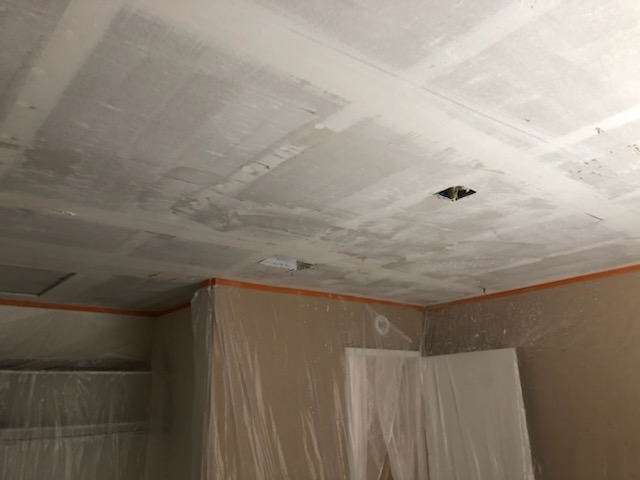
The Process of Acoustic Removal: What to Expect
Acoustic ceilings, often referred to as popcorn ceilings, were once a popular choice for homeowners due to their sound-dampening qualities and ease of installation. However, as home improvement trends evolve, many homeowners are opting to remove these ceilings to create a more modern and visually appealing space. This blog post will guide you through the process of acoustic removal, detailing what to expect and how to prepare for this home improvement project.
Understanding Acoustic Ceilings
Before diving into the removal process, it’s essential to understand what acoustic ceilings are and why they were initially popular. Here are some key points:
- Originally designed to absorb sound and reduce noise levels.
- Often made of a spray-on texture that resembles popcorn.
- Commonly used in homes built between the 1950s and 1980s.
- Can contain asbestos if installed before the 1980s, necessitating professional removal.
The Benefits of Acoustic Removal
Removing an acoustic ceiling can significantly enhance your home’s aesthetic and functionality. Some benefits include:
- Improved lighting: Flat ceilings allow for better light distribution.
- Increased property value: Modern ceilings are more appealing to potential buyers.
- Easier to clean: Smooth surfaces are simpler to maintain than textured ones.
- Enhanced design flexibility: A flat ceiling opens up more design possibilities.
The Acoustic Removal Process
The removal of an acoustic ceiling can be a straightforward process, but it requires careful planning and preparation. Here’s what you can expect:
1. Assessing the Ceiling
Before starting the removal, it’s crucial to assess the ceiling for any hazardous materials, particularly if your home was built before 1980. If asbestos is present, you will need to hire a licensed professional to handle the situation.
2. Preparing the Work Area
Preparation is key for a successful acoustic removal project. Consider the following steps:
- Clear the room of furniture and belongings to protect them from debris.
- Cover the floors and any remaining fixtures with drop cloths.
- Ensure proper ventilation in the workspace to avoid inhaling dust.
3. Removal Techniques
There are various techniques for removing acoustic ceilings, including:
- Scraping: This involves using a putty knife or scraper to remove the texture.
- Wet Removal: Spraying the ceiling with water to soften the texture before scraping.
- Professional Removal: Hiring a contractor to handle the entire process, especially if asbestos is involved.
Post-Removal Steps
After the acoustic ceiling has been removed, there are several steps to consider for finishing the job:
- Repair any damage to the underlying ceiling surface.
- Apply a coat of primer and paint to create a smooth, modern finish.
- Consider installing new lighting fixtures to enhance the updated ceiling.
Conclusion
Removing an acoustic ceiling can dramatically improve the look and feel of your home. While the process may seem daunting, understanding what to expect can help make it manageable. Whether you choose to tackle the project yourself or hire professionals, the results will be well worth the effort. If you’re considering acoustic removal for your home, reach out to Specialized Drywall Service's LLC for expert advice and assistance.